Status update: 8/11/2010 - Three months later this has been well hammered :) Coin 2 on the IPAC stopped working after some emergency repairs when a wire fell off stick 1. The Plasti-Kote paint is still rubbing off. Horrible stuff it is. When it gets too bad I'll rebuild the entire control panel and finish it with OzStick's marvelous overlay. I've tweaked the sticks for more responsive action. It gets used pretty much every day. Worth every second spent building it.
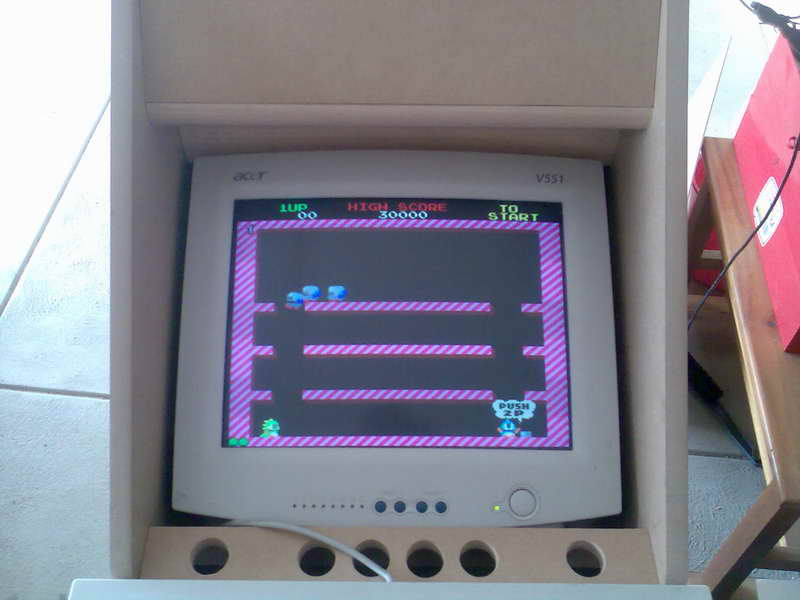
Status update: 24/6/2012 - One year and 8 months on and it's still going strong. By some unknown power of the gaming deities the coin input on the IPAC started working again. The monitor lost the red beam which made a few games impossible to play (invisible red emeny bullets make for insanely hard mode). The good folks at Waytec Electronics repaired it better than new. I've discovered the downside to a Windows based machine when the high score tables got wiped by a player switching it off without doing a proper shutdown. Such is life.
Status update: 14/8/2019 - Monitor died a couple of years ago for the last time. A replacement for this model is too hard to find. I tried and failed to fit another CRT nice without major rebuilding. It now has a 17" LCD. Decided to replace the PC motherboard as it had a bunch of bad caps. Swaped the HDD for a SSD. Never did rebuild the control panel. Put a strip of overlay across the front and it lasted ok. Doesn't get used much these days. Kids grow up. Priorities change. :/
Status update: 20/2/2020 - Made the difficult decision to sell it. Collects dust for months between games now. Had an ad up for ages before it went. Some nice young bloke, a barber, bought it. He was so excited when he first saw it. I'm happy it's gone to a good home.
The Plan
Tuesday, 10/8/2010
I realized part way through project #1 that making the games on my PC more playable would equal less time using it for me. Bad idea. What the kids need is a game station of their own. Plenty of inspiration and assorted plans around. Space is an issue so let's start small. This is also going to be a test of how cheaply one of these things can be built.
Note: I don't own any real power tools. This whole thing is done with a handsaw, cordless drill, some clamps, set square, box of screws, lots of sandpaper, and a tube of glue. I admit to using an old power drill to make the button holes in the control panel when the cordless went flat, but it was a one off. This is also freestyling - no real design, just an idea, a few scribbles on a bit of paper, a lot of measuring and many trial runs. One hell of a puzzle, and more fun than the Sunday crossword.
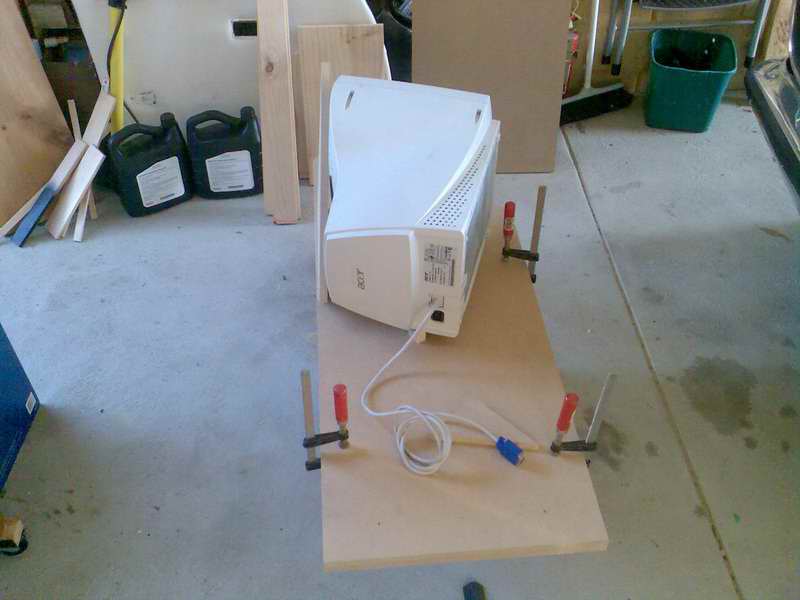
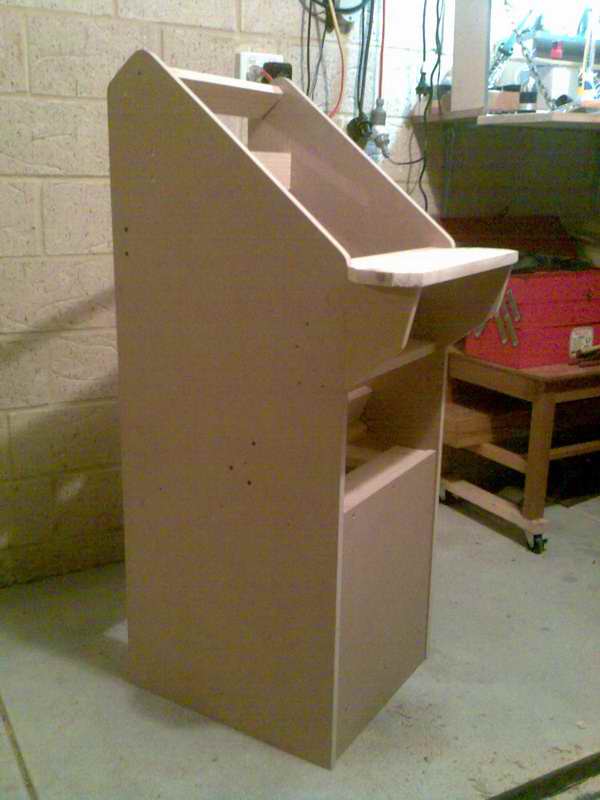
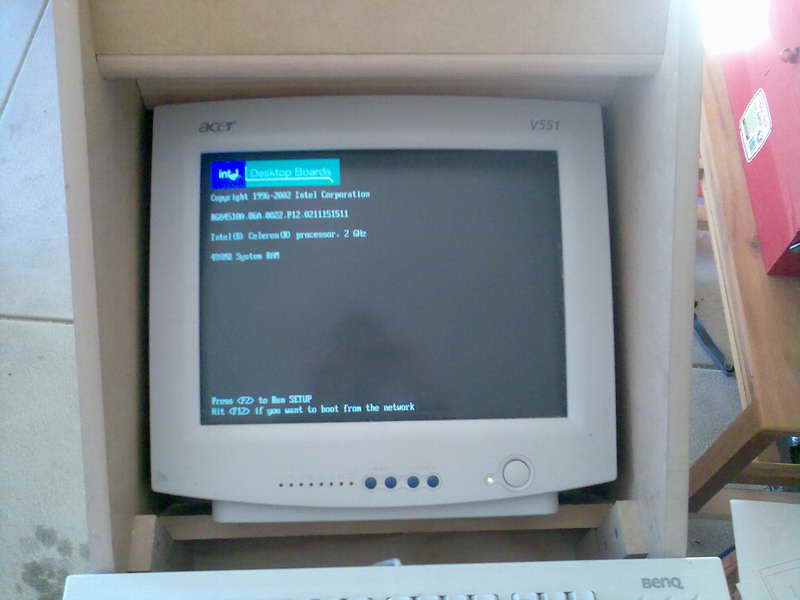
Step 1: Dust off the old 14" Acer CRT monitor in the garage and build a box around it...
The Beginning
Chop the end of some sheets of 450x1200 MDF, whack the monitor on top and draw some lines around it.
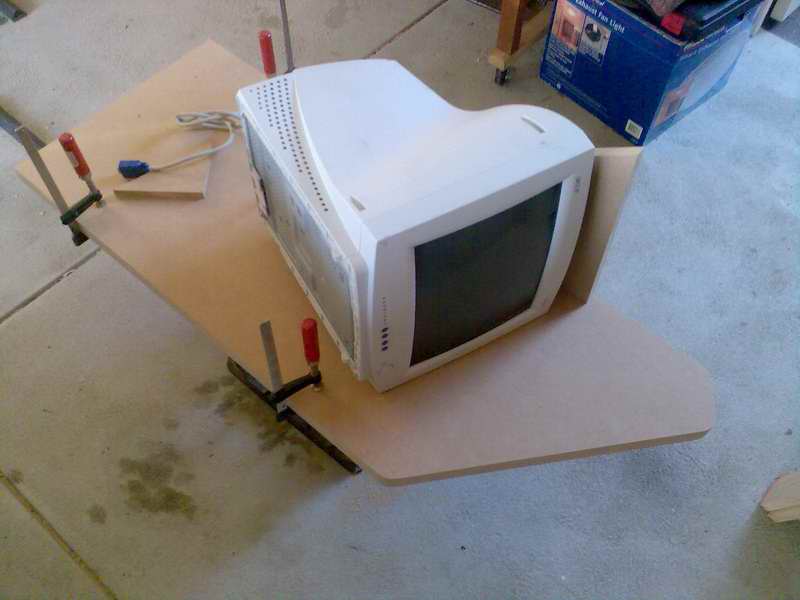
Attach some bits of 19x75 pine.

Looks like a good fit.
Decision Time
Need some front and rear covers, and a place for the control bits to live - panel version 1.
Layout trials - panel version 2.
Just not happy so complete redesign - panel version 3 and final choice.


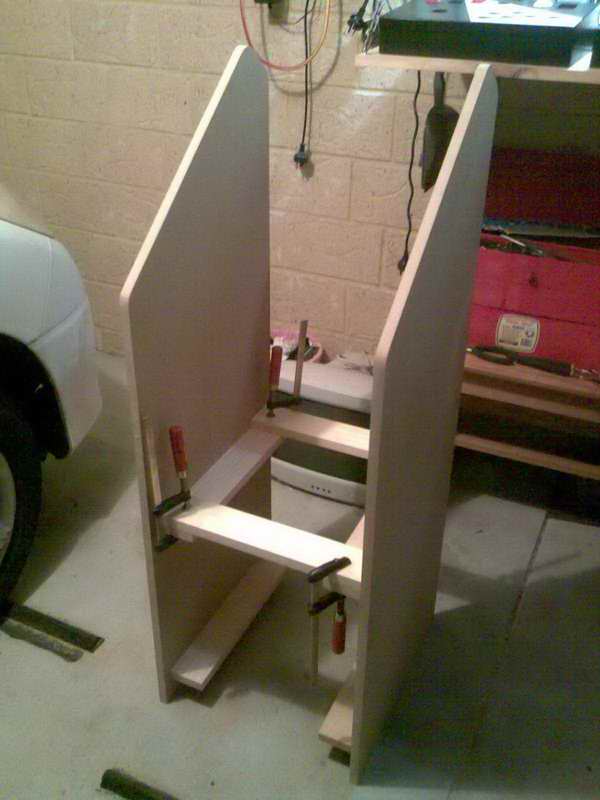
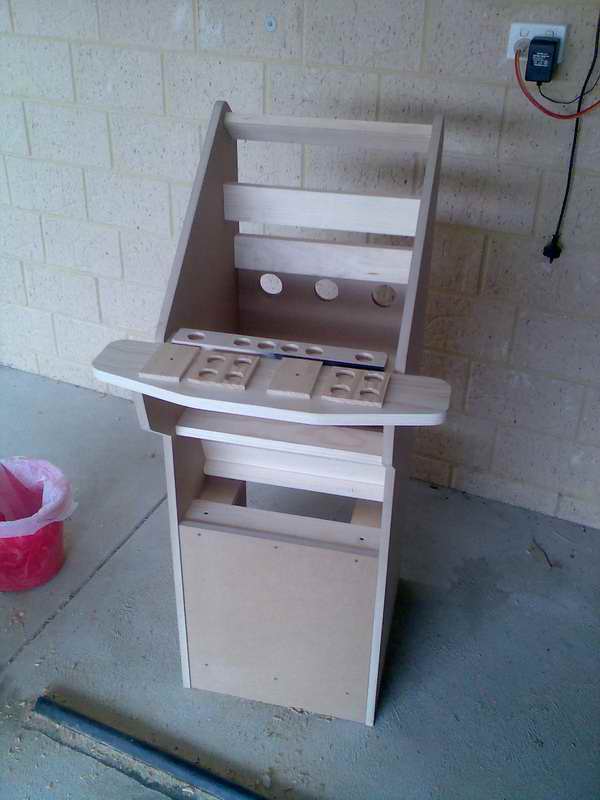
On With The Show
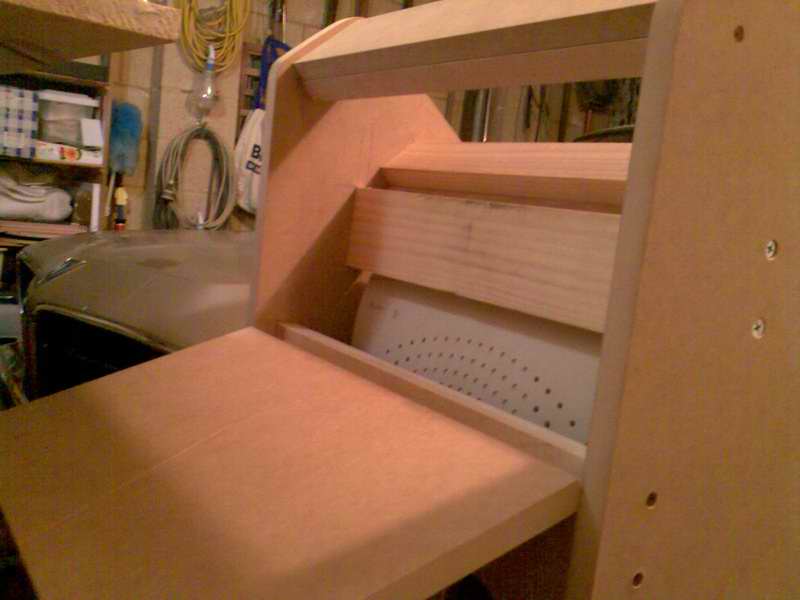
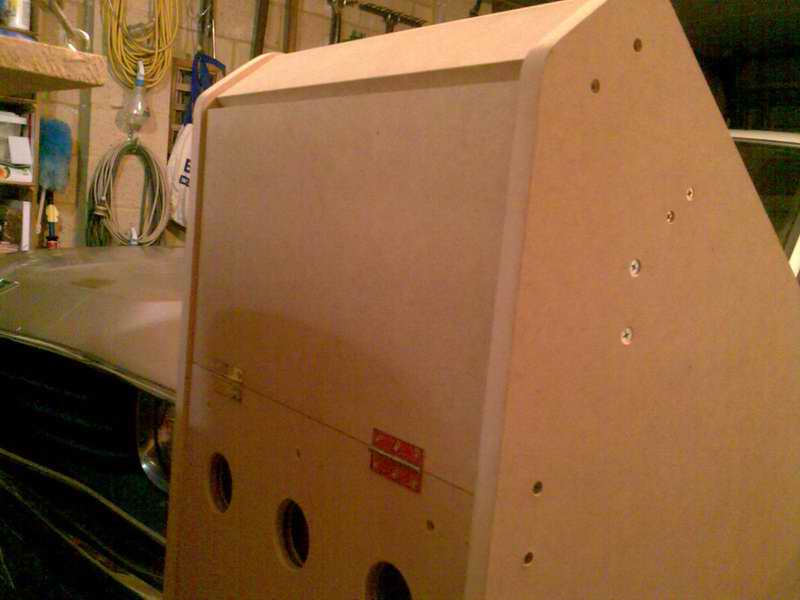
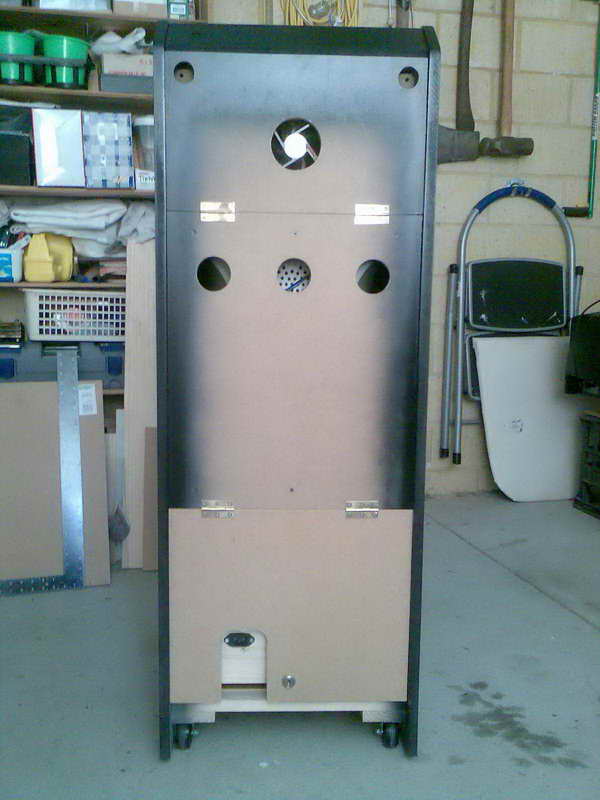
Rear view.
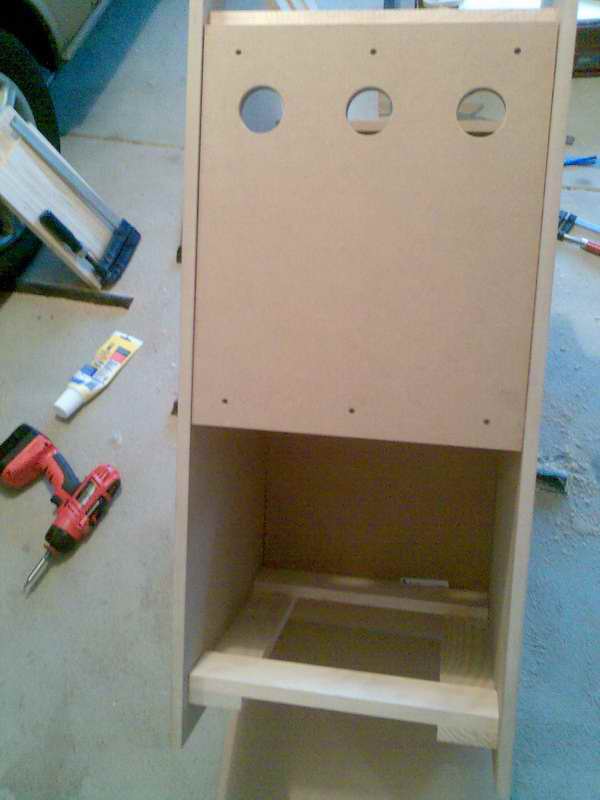
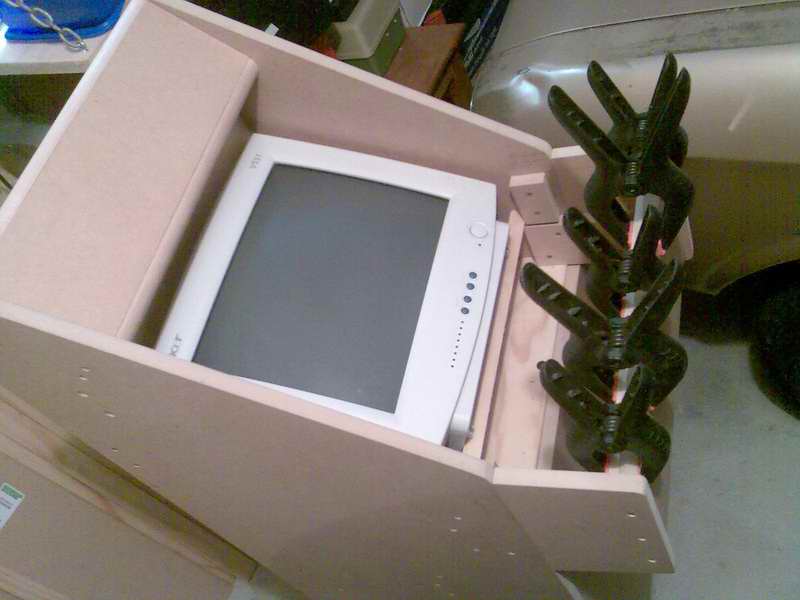
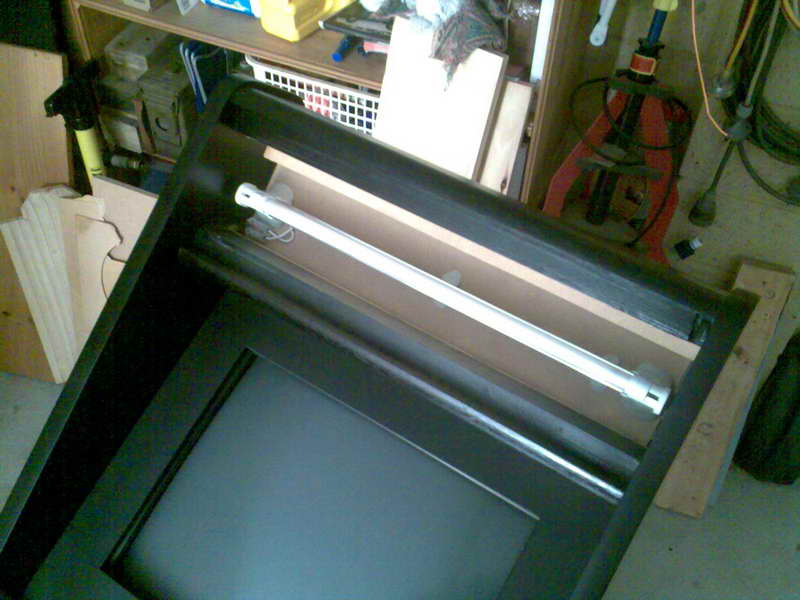
Monitor top access panel.
Front access panel and marquee bits attached.
A bit of trim - 15mm 1/4 round moulding is great stuff.
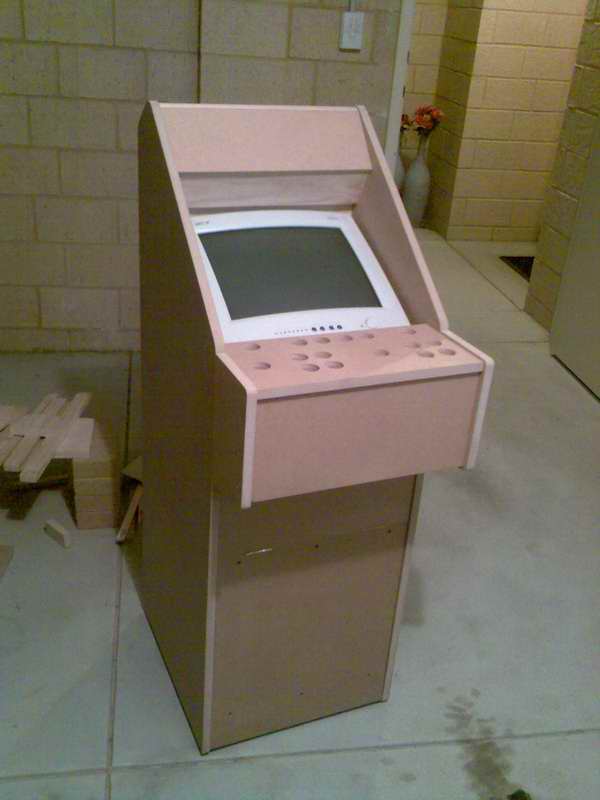
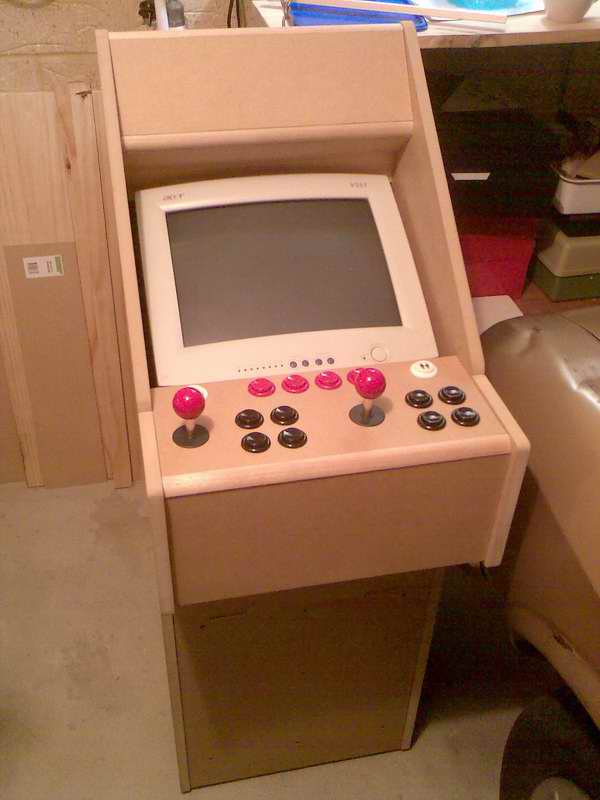
Quickly poke the buttons in the holes and it looks like a bought one, almost - trim needs a cleanup but otherwise coming together nicely.
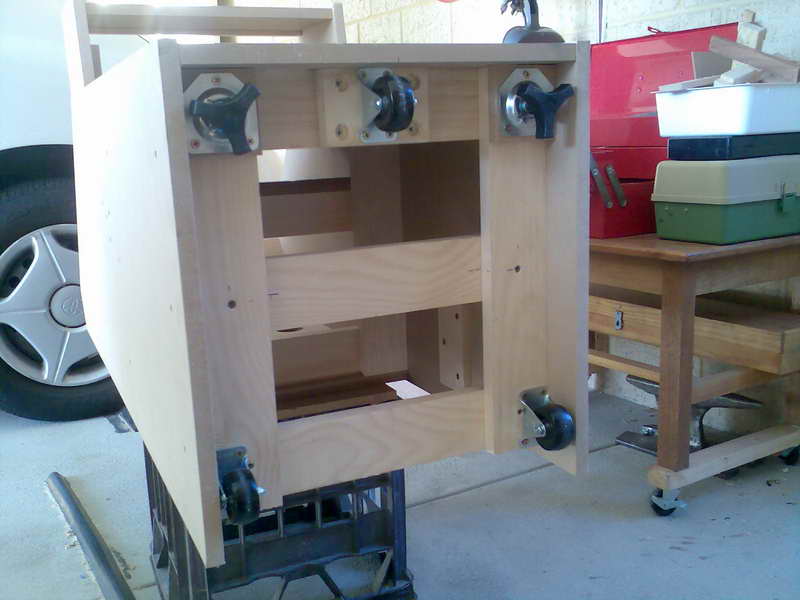
It's getting heavy. Maybe some wheels would be a good idea...
Technical Stuffs
Something to hold the PC hardware bits.

Connect everything and see if it still works...
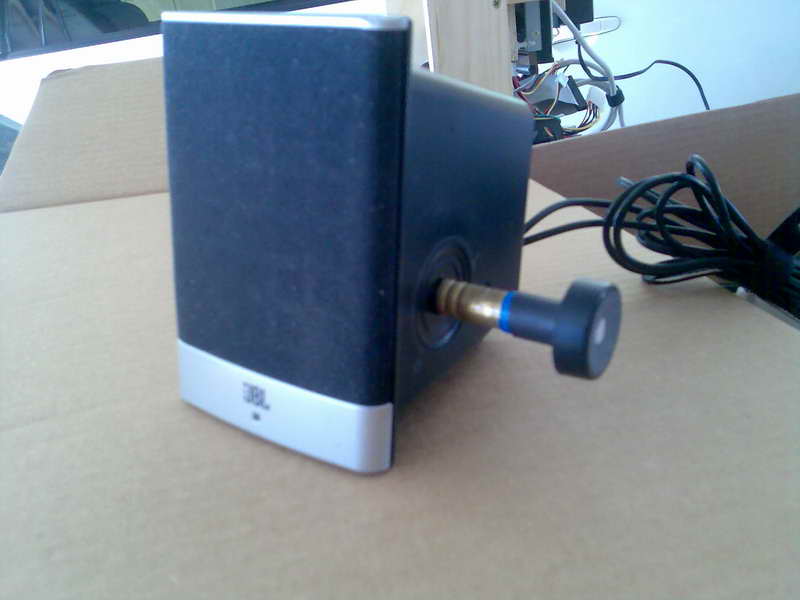
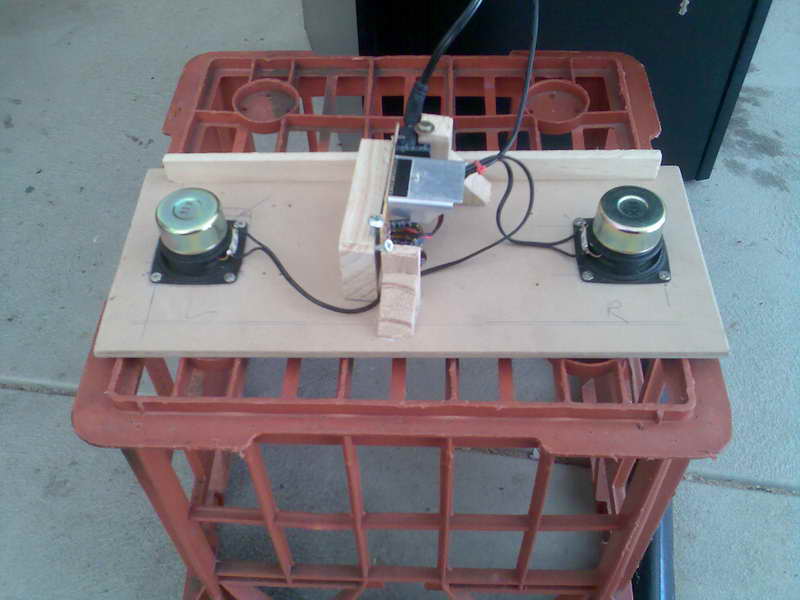
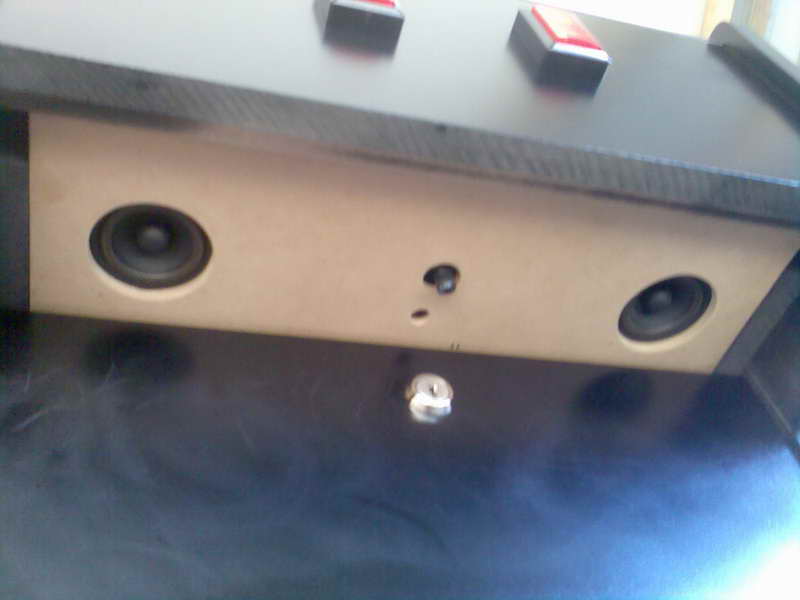
Oh damn. Looks like my JBL speakers fit too well...
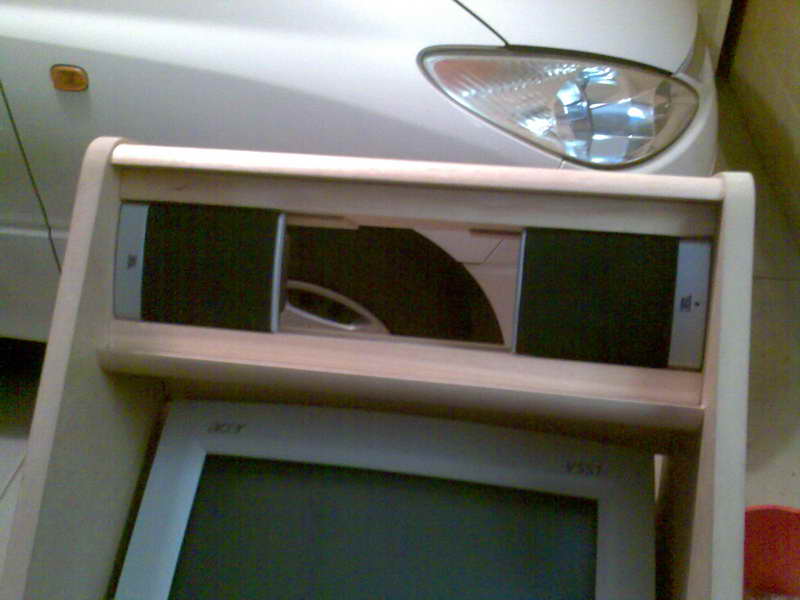
So let's mod that volume knob then.
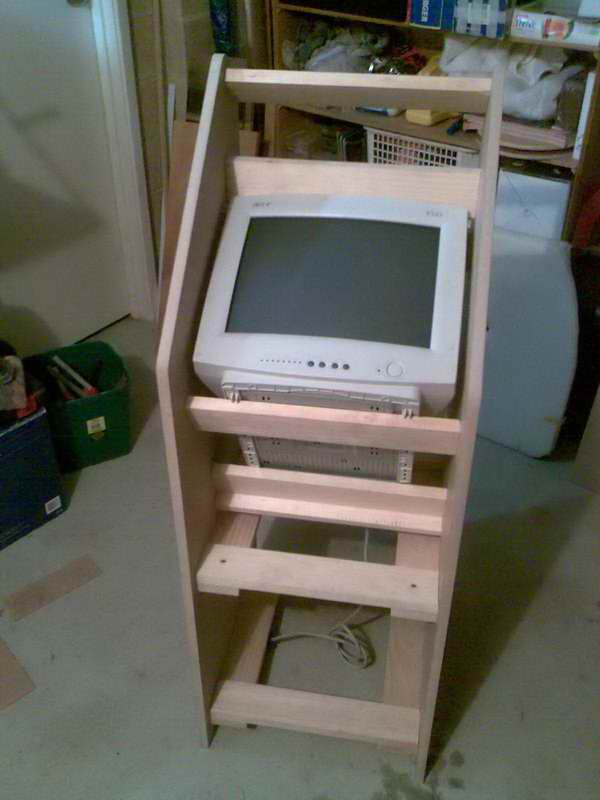
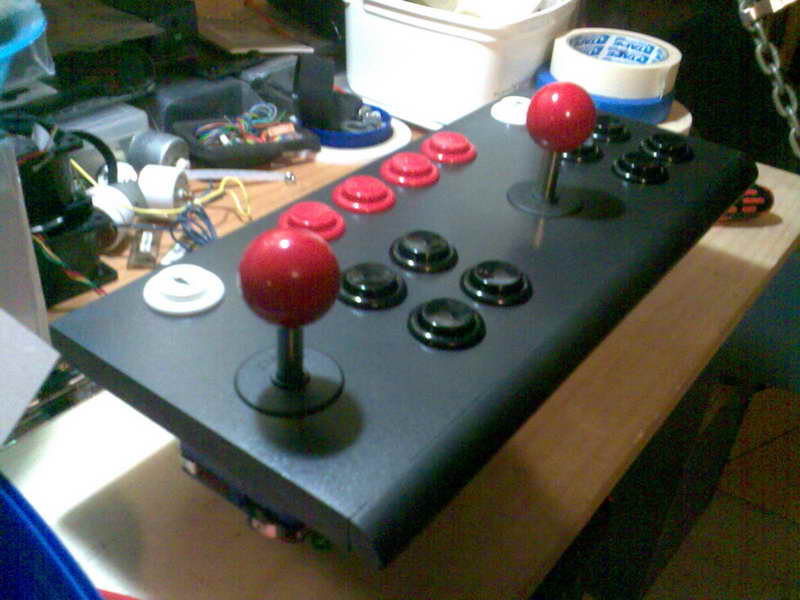
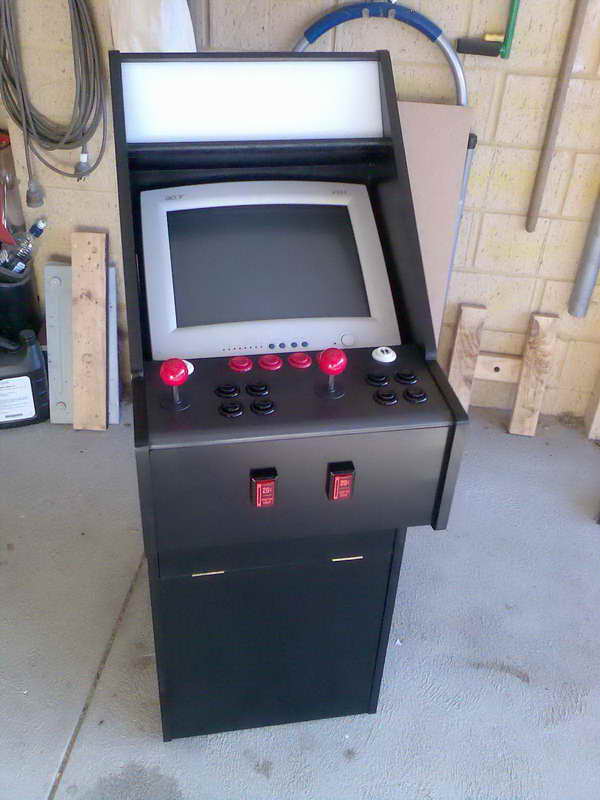
The hardware appears to work fine. A real gfx card is needed. The onboard unit does an OK job for what it is but chokes on many games from 1992 on. All the cab needs now is a PC access panel and it's ready to paint. I've worked out the mounting position for the I-PAC VE under the controls. Space is tight with 16 buttons and 2 joysticks, but it all fits with room for 2 sets of adult hands on top.
Putting It All Together
Panel painted with Plasti-Kote hammered metal enamel. (Update: This paint is nasty. It won't dry and rubs off.)
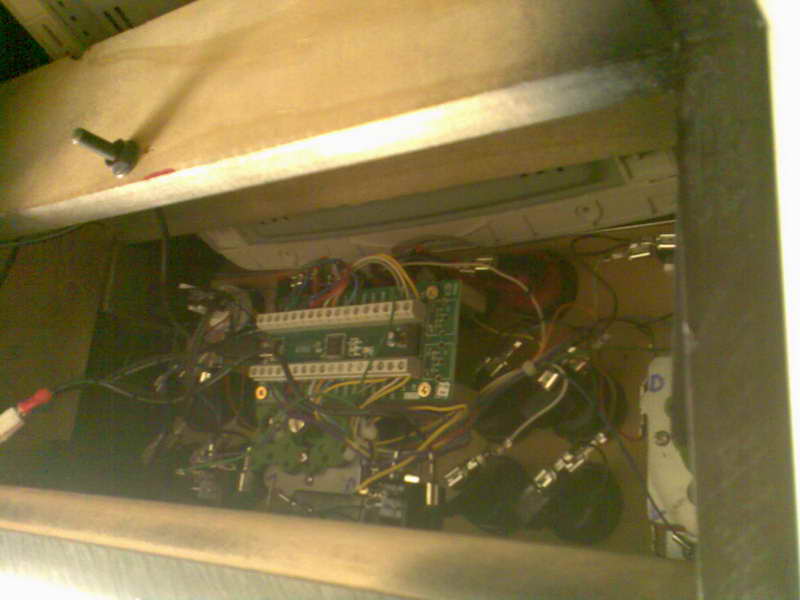
Partially wired up. Mount for IPAC and lockdown bracket attached.

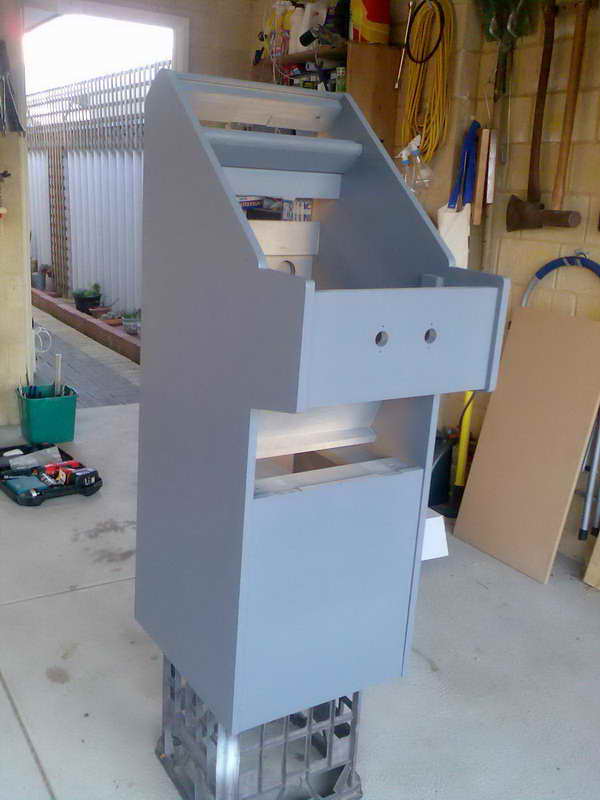
Complete and installed. Very tight fit. Note piece hacksawed off front of monitor.
Three coats of primer. Two coats of satin black.
After much scratching of head and hard thinking the speakers ended up dismantled and moved. Space is even tighter now with them and their amp in the control box, but it still all fits.
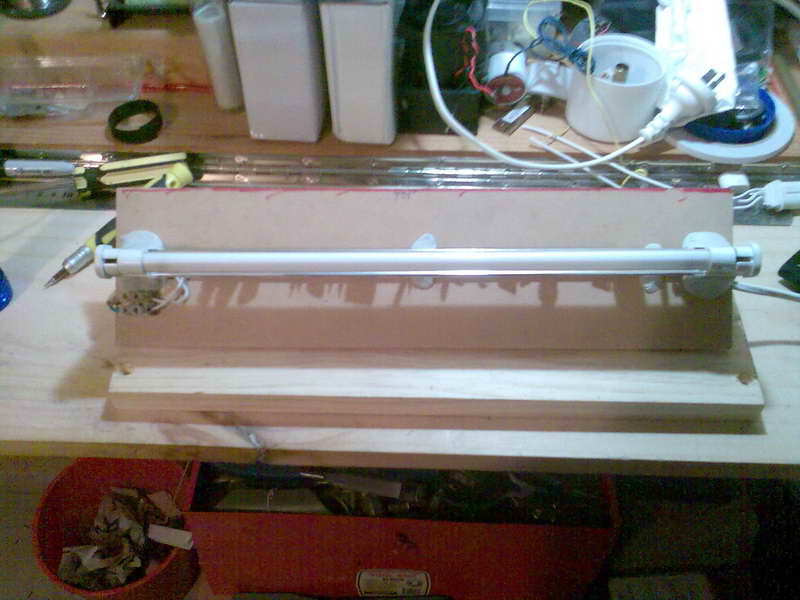
Because I already had a fluoro that fits nice. Shame not to use it. Shown are monitor and 3mm MDF bezel painted black. Glass is ordered.
Mini-keyboard and wireless mouse go in there. Sliding bracket made from scrap aluminium strip and a bracket of some kind from an aircon.

Murphy's Law
Yep. Something went wrong. The HDD broke. It's still working ok for storage but spits out a read error at boot. Not a big surprise considering I hooked it out of a DVD-HDD recorder that was headed for the bin. Choices were replace or add. The only working spare drive on hand was a 40gb. Too small to replace if I want anything other than a basic setup. The other drive already has about 120gb of music and videos as well as MAME 0.139 complete set including about 30gb of chds. There's now 2 HDDs in a new holder. The CPU fan sucks enough air through the drives to not need the fan. Temporary CD-ROM in place to install OS.
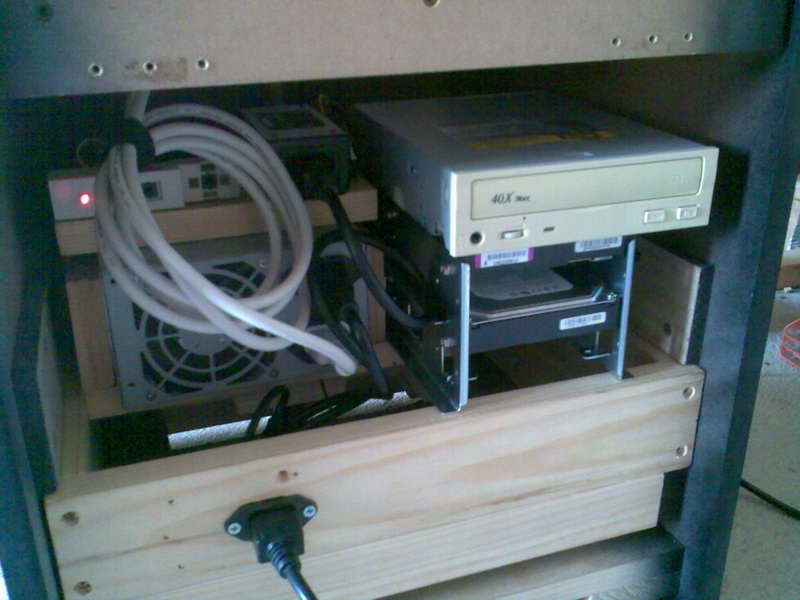
Fan got moved up top as the monitor warms up a fair bit and there's not much space for natural airflow. I'd be scared to turn it on in summer without extra cooling.
The End Is Nigh
Glass and full size marquee artwork in place. Waiting on laser cut clear panel for marquee and I can officialy call this project done. This photo is awful, taken at 2am with a mobile phone, but something had to go down here.

Done. Ok, next one....
